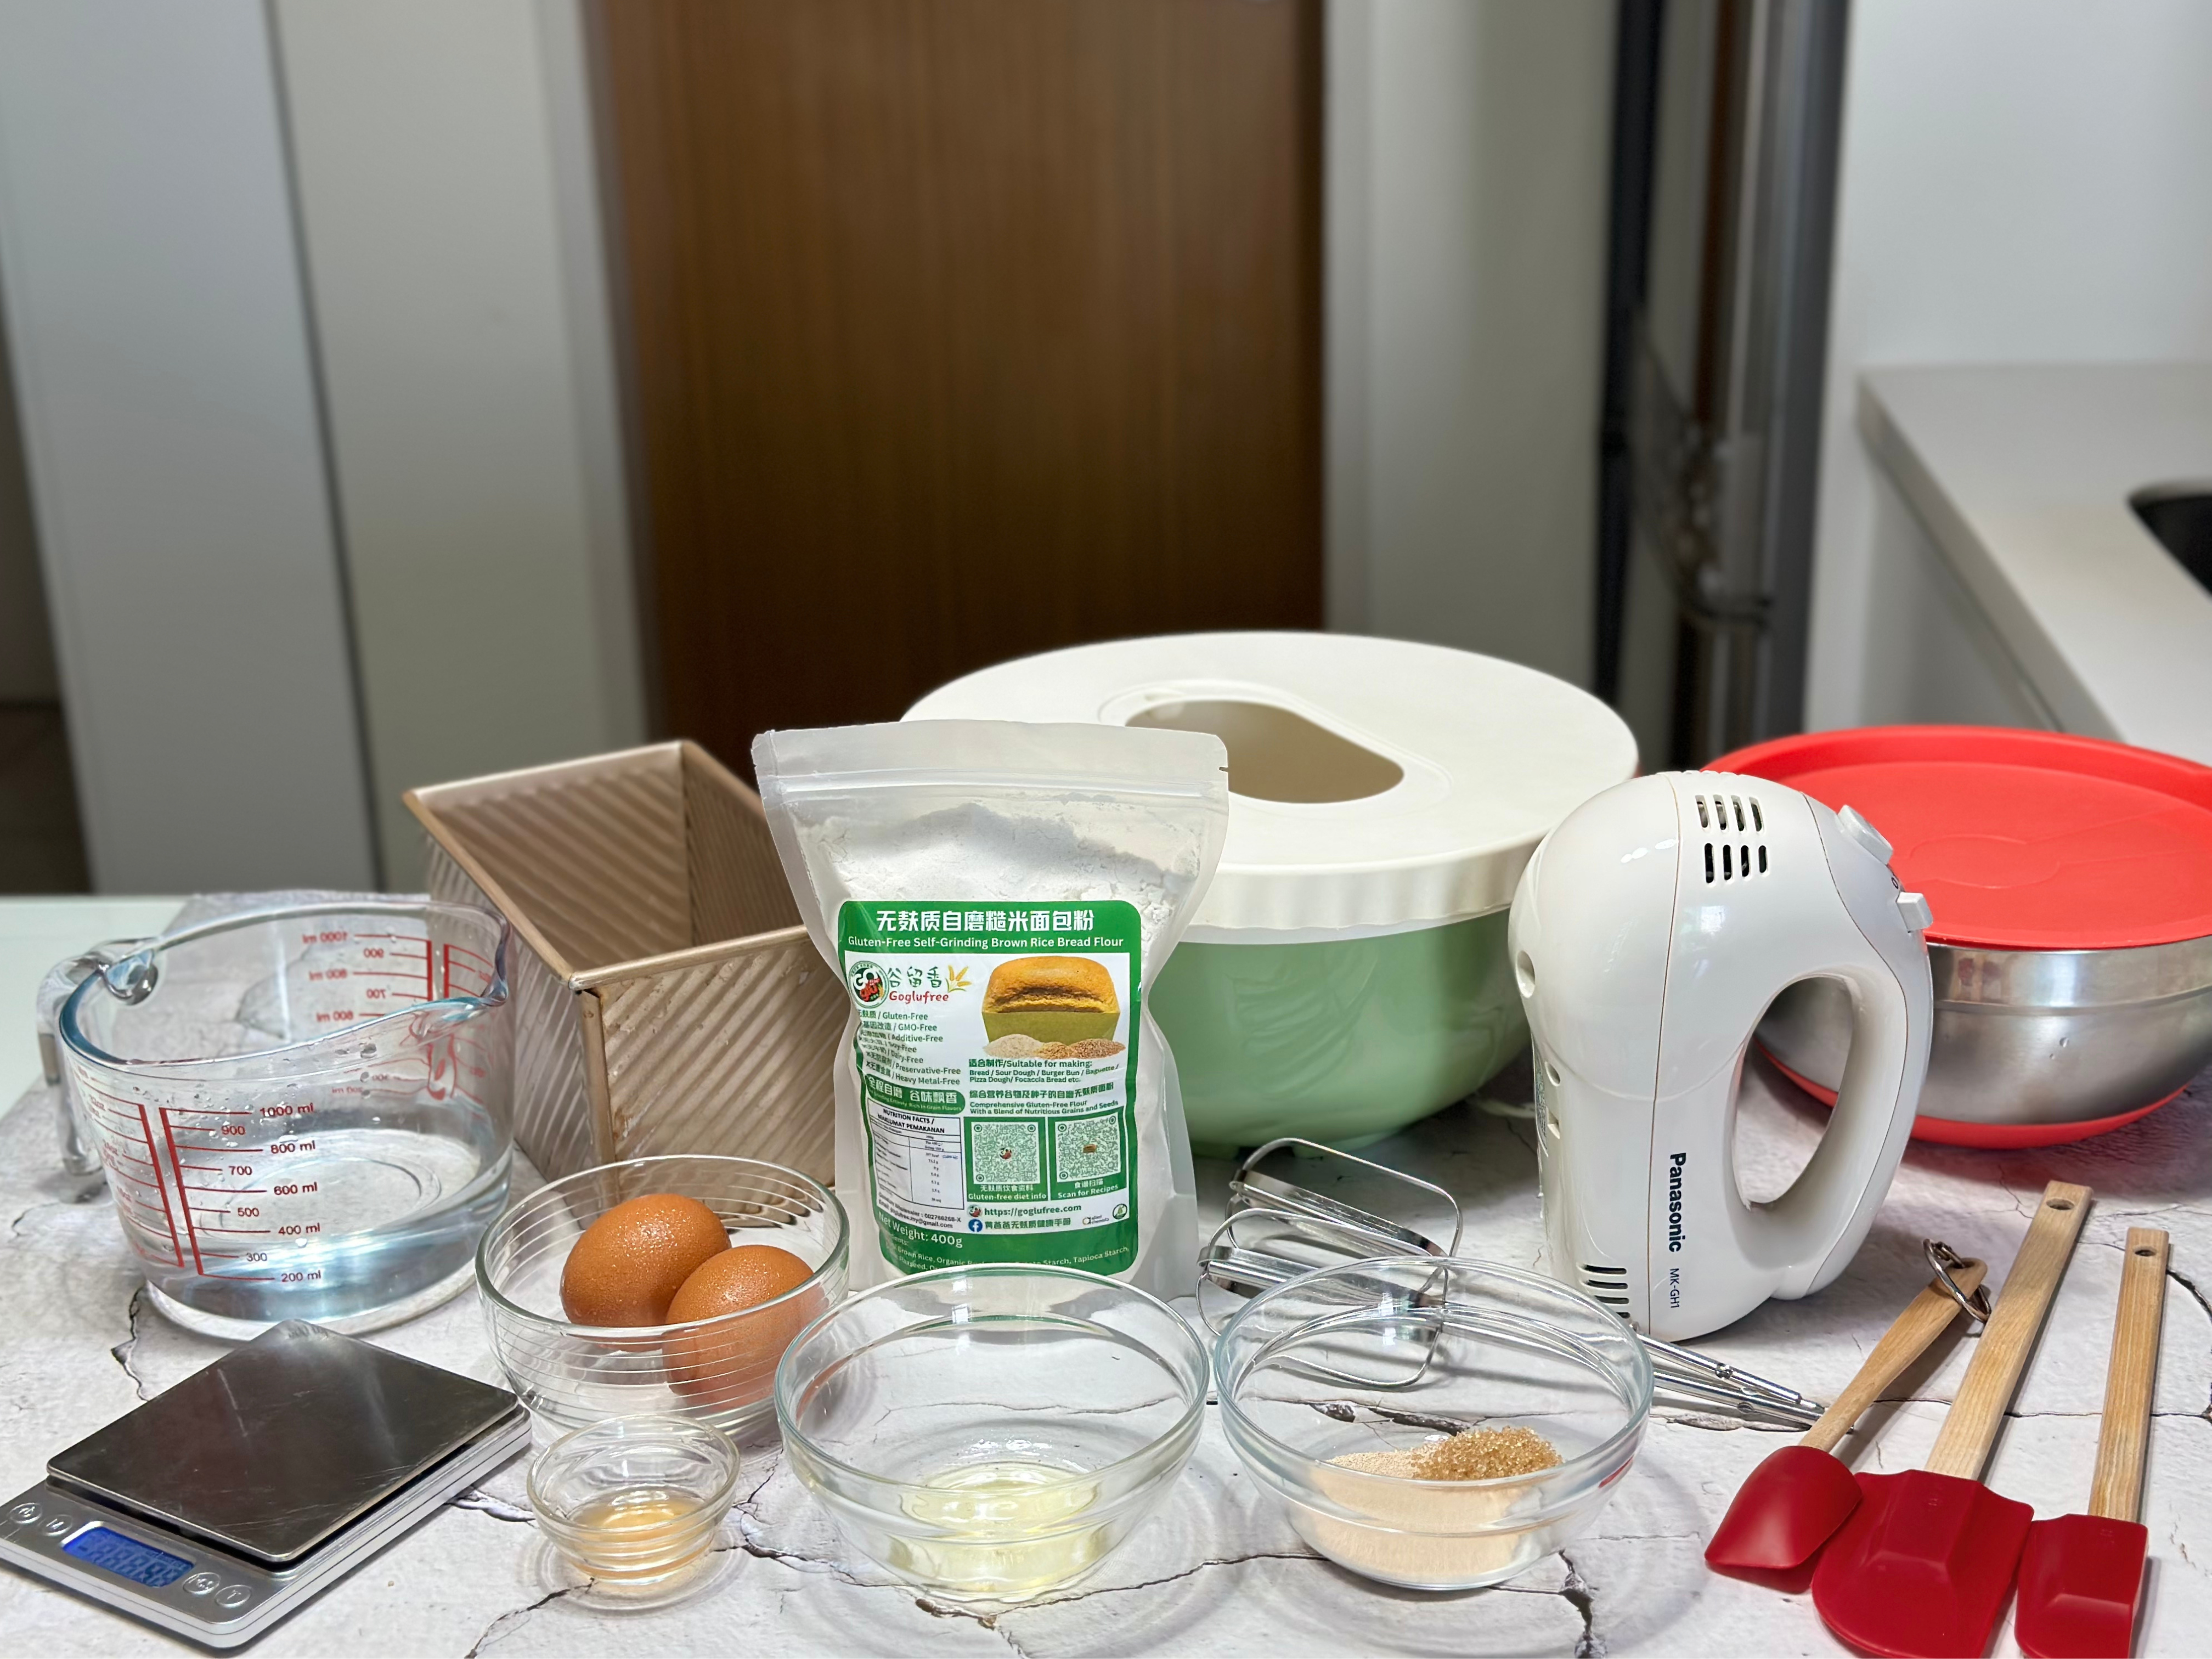
Gluten-free Brown Rice Bread Ingredients:
Goglufree Brown Rice Bread Flour - 400g
Yeast - 8g (please prepare your Own)
Sugar- 3g (for fermentation purpose only)
Warm Water - 300g (40-50 degrees Celsius or 200ml water/100ml hot Water)
Eggs - 2 (large)
Vegetable Oil - 5g (rice bran oil/olive oil or Coconut Oil)
Salt - 2g (optional)
Vinegar - 3g (apple cider vinegar/rice vinegar/lemon)
*Tips:
- If you use low sugar or sugar-free yeast, you don't need to add sugar, Just add the yeast directly to the bread flour.
- You can adjust the amount of yeast according to your preference. If you don't like a strong yeast flavor, you can reduce the amount, but the fermentation time may be longer.
- Salt is optional and can be added according to your taste. (This recipe does not include salt, but you can add it directly to the bread flour if desired).
Step 1:
Pour the bread flour into a bowl (if using salt, you can add it at this point), then pour in the yeast powder , sugar, vegetable oil and warm water.


Step 2: Attach the paddle attachment to the mixer.

If you're a beginner and concerned about the batter splattering everywhere, there are two methods to address this:
Method 1: Mix the dough evenly with a dough spatula before using an electric mixer.
Method 2: You can purchase a Mixing Bowl like the one shown in the image at IKEA.
These methods can help you achieve better control over the batter and minimize any mess.
Purchase link: https://bit.ly/3pMoJxD

Step 3:
Once the mixing attachment is attached, turn on the mixer at medium speed and mix the batter until it is well combined. It usually takes about 1 minute.


Step 4:
Next, prepare two eggs and add them to the batter gradually while the mixer is still running at medium speed. Add one egg at a time and continue to mix the batter until it becomes smooth and glossy. This usually takes about 2-3 minutes.


Step 5:
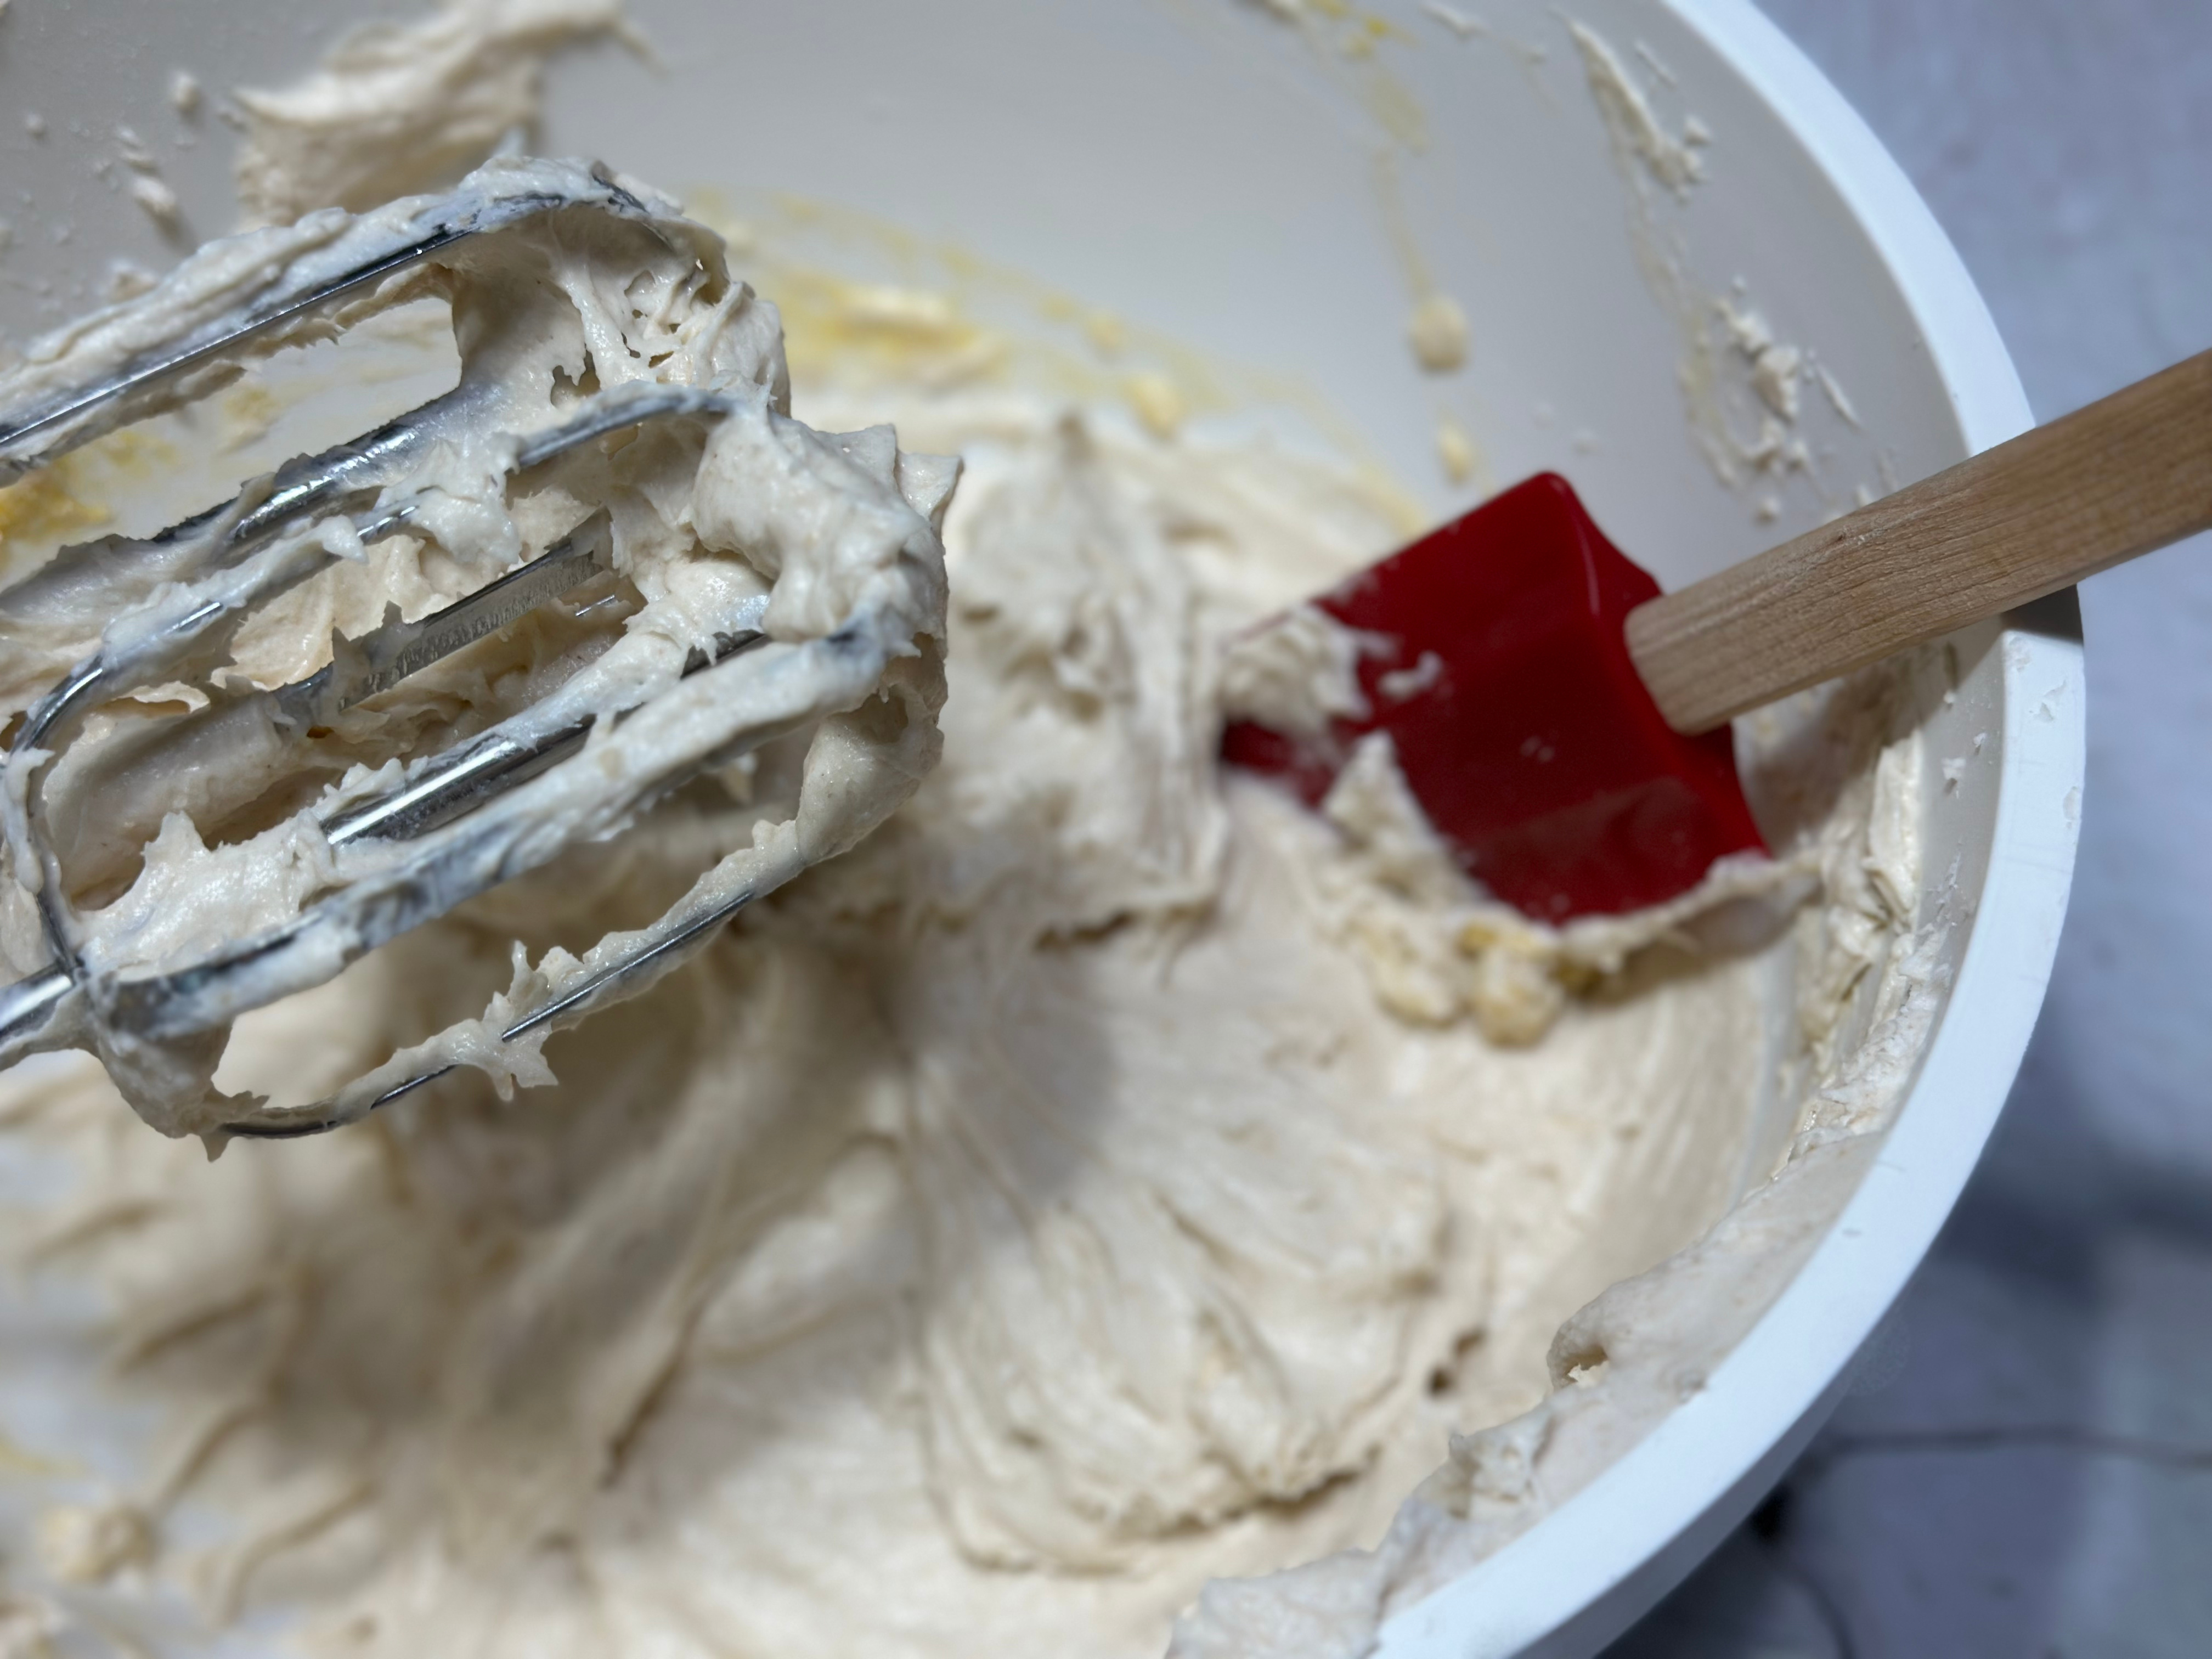
Next, pause the mixer and use a spatula to scrape the sides and bottom of the batter to ensure even mixing. This step is important to make sure there are no pockets of unmixed batter left behind by the mixer.
Step 6:
Add the final ingredient, vinegar, to the batter. Resume mixing at a faster speed until the batter becomes smooth and well blended, which usually takes about a minute.
*Pro tip: Adding vinegar in a moderate amount helps maintain the pH balance of the batter, promotes yeast activity, and enhances the texture and fluffiness of the bread.
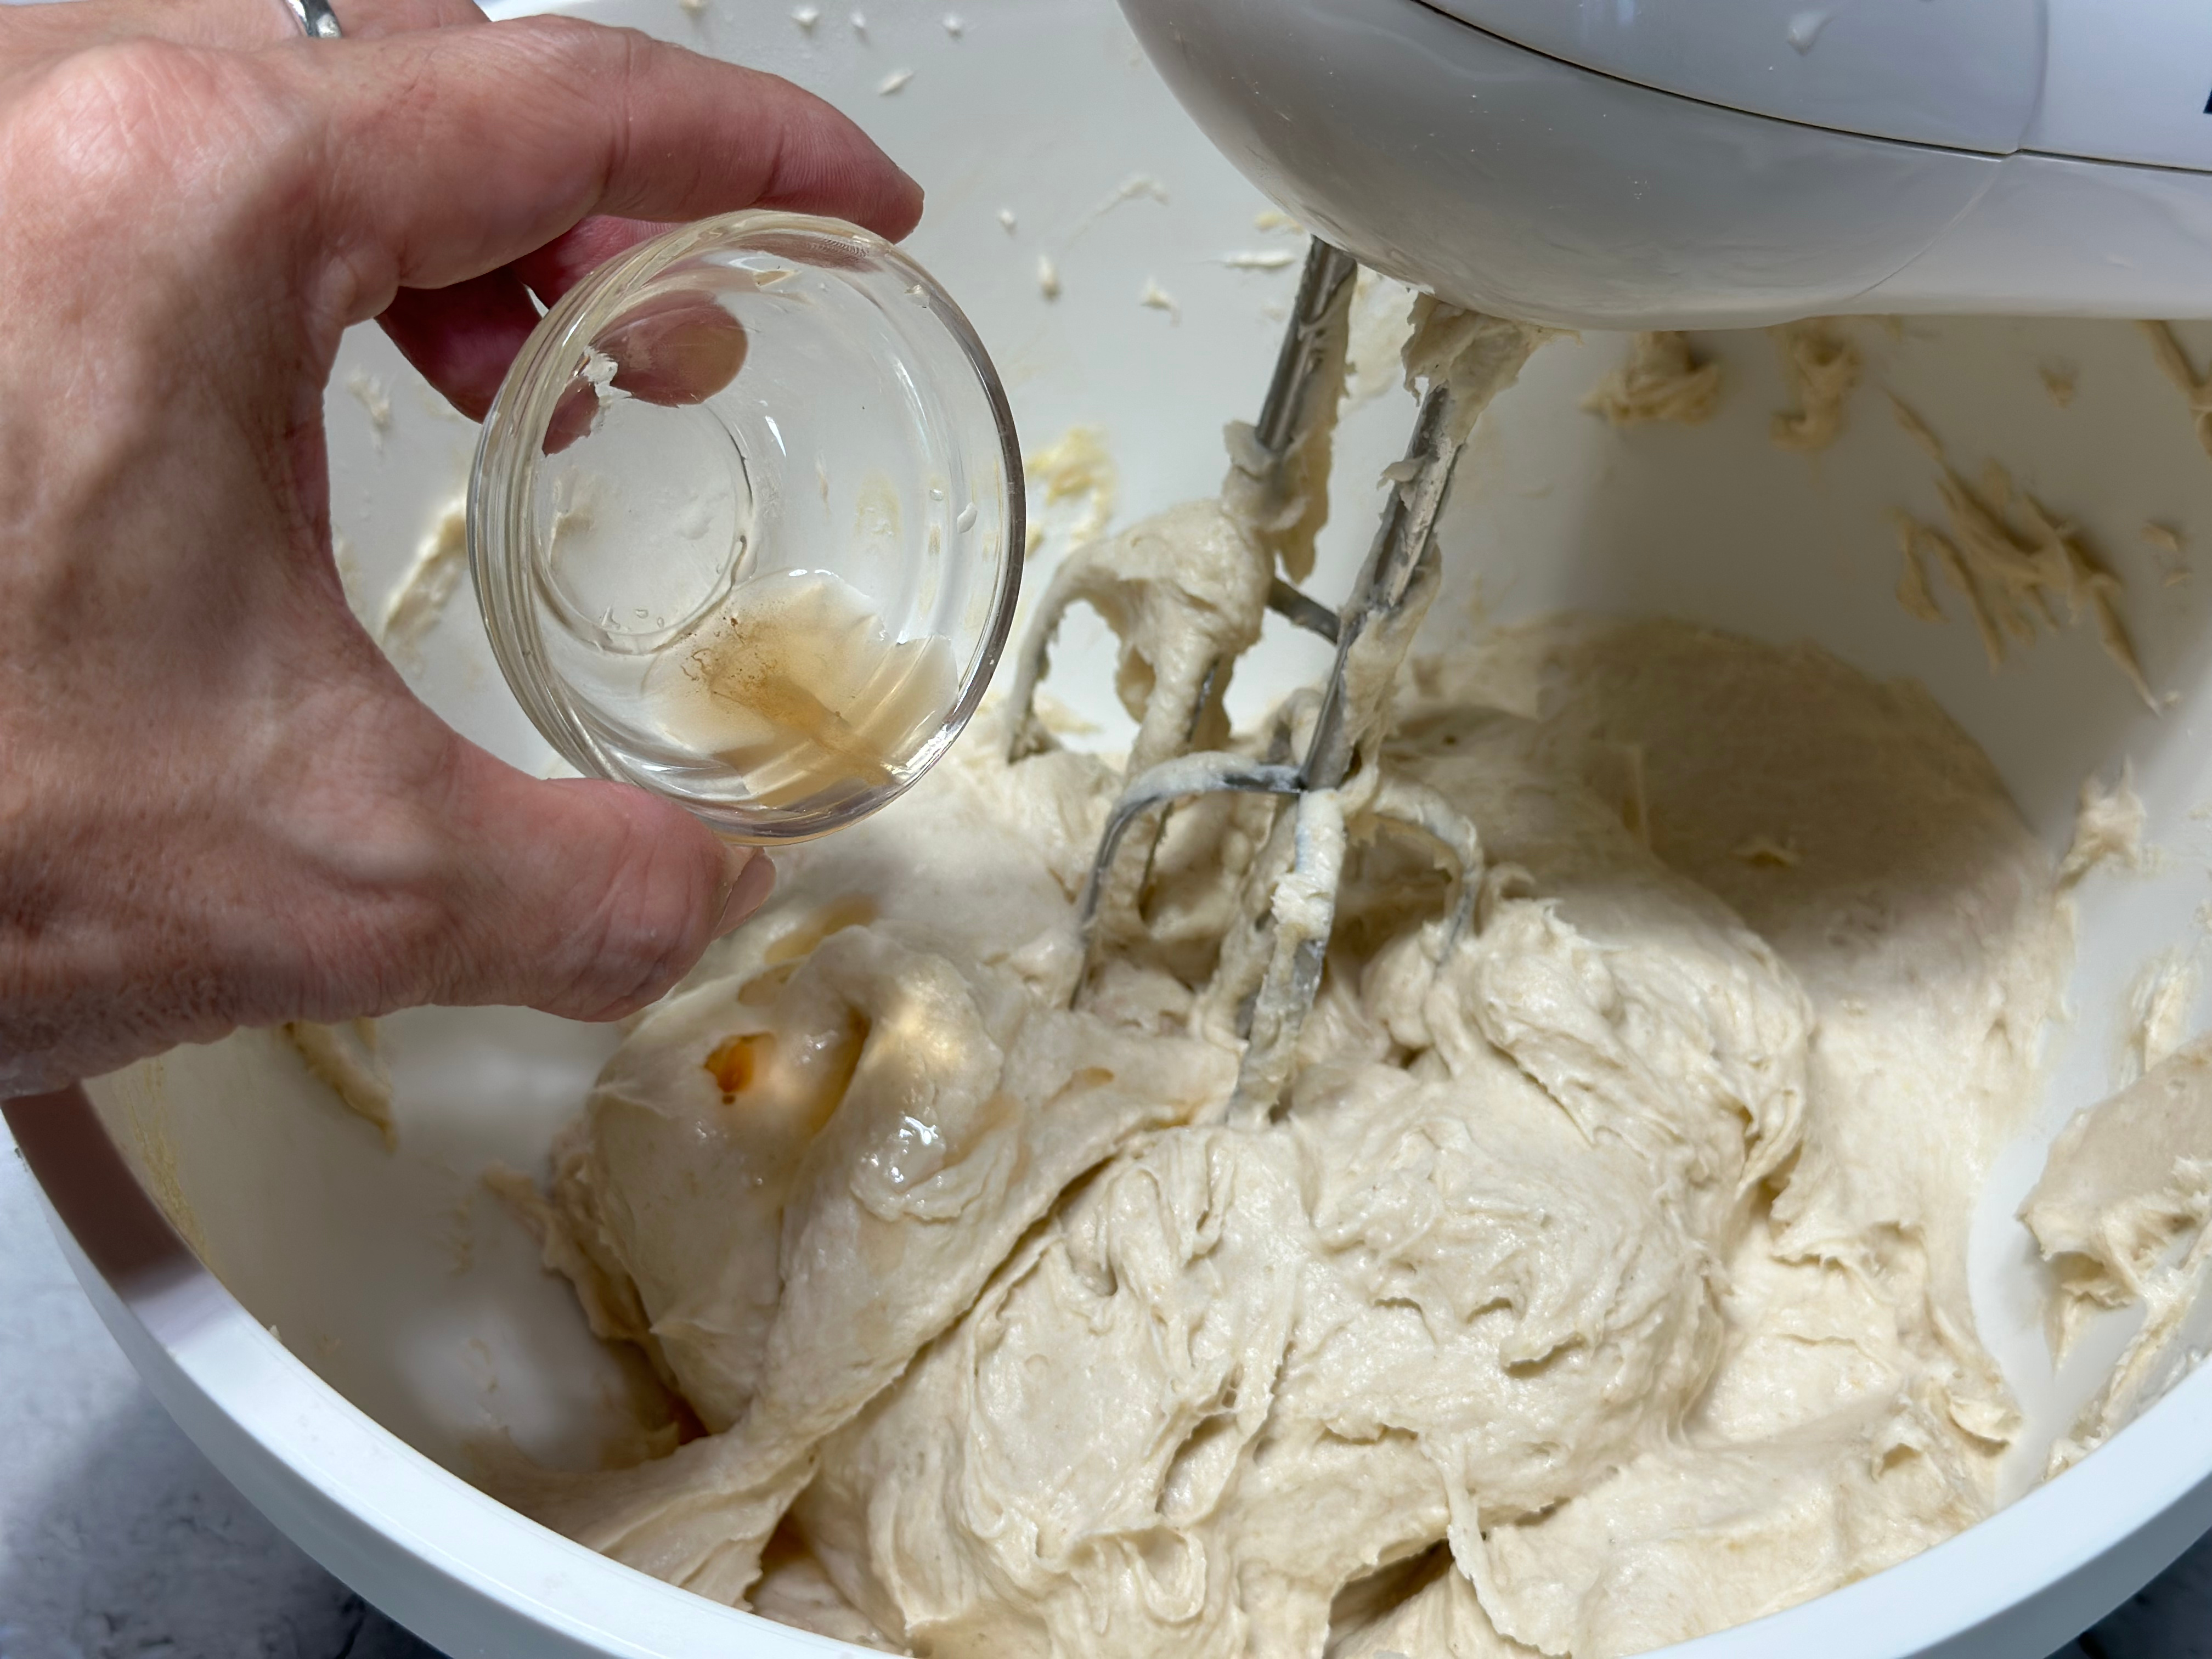
*Pro tip:
The batter has a high viscosity, so it's important to use a high speed setting on the mixer. When the batter is being mixed, it may rise up towards the mixer like a "tornado." Don't panic, simply lift the mixer slightly higher, and the batter will naturally fall back down. The high-speed mixing process usually takes about 1-2 minutes before stopping.
When stopping the mixer, be careful. If you stop it abruptly, a large amount of batter may stick to the mixer. To allow the batter to fall off automatically, gradually reduce the speed of the mixer and slowly lift the mixer. The batter will drop off along with the slower speed.


Step 7:
Prepare a baking pan and grease the sides with oil (to facilitate easy removal of the bread after baking). Then, place a parchment paper on the bottom of the pan to prevent the batter from spilling over.


Step 8:
Carefully pour the batter into the greased baking pan and spread it evenly. It is recommended to use two spatulas for this step. The batter can be sticky and difficult to handle, so you can lightly oil the spatulas to reduce stickiness.


Step 9:
Flattening the batter is the trickiest part of the process, so I recommend using a spatula with a curved surface to make it easier. After spreading the batter evenly, you can move the baking pan to a draft-free area for fermentation.
If you choose to ferment naturally at room temperature, in our country's climate, you can place the dough anywhere for fermentation. The fermentation speed depends on the amount of yeast used. If you follow the recipe's yeast measurement (8g), it should be completed within 40 minutes.


*Pro Tip:
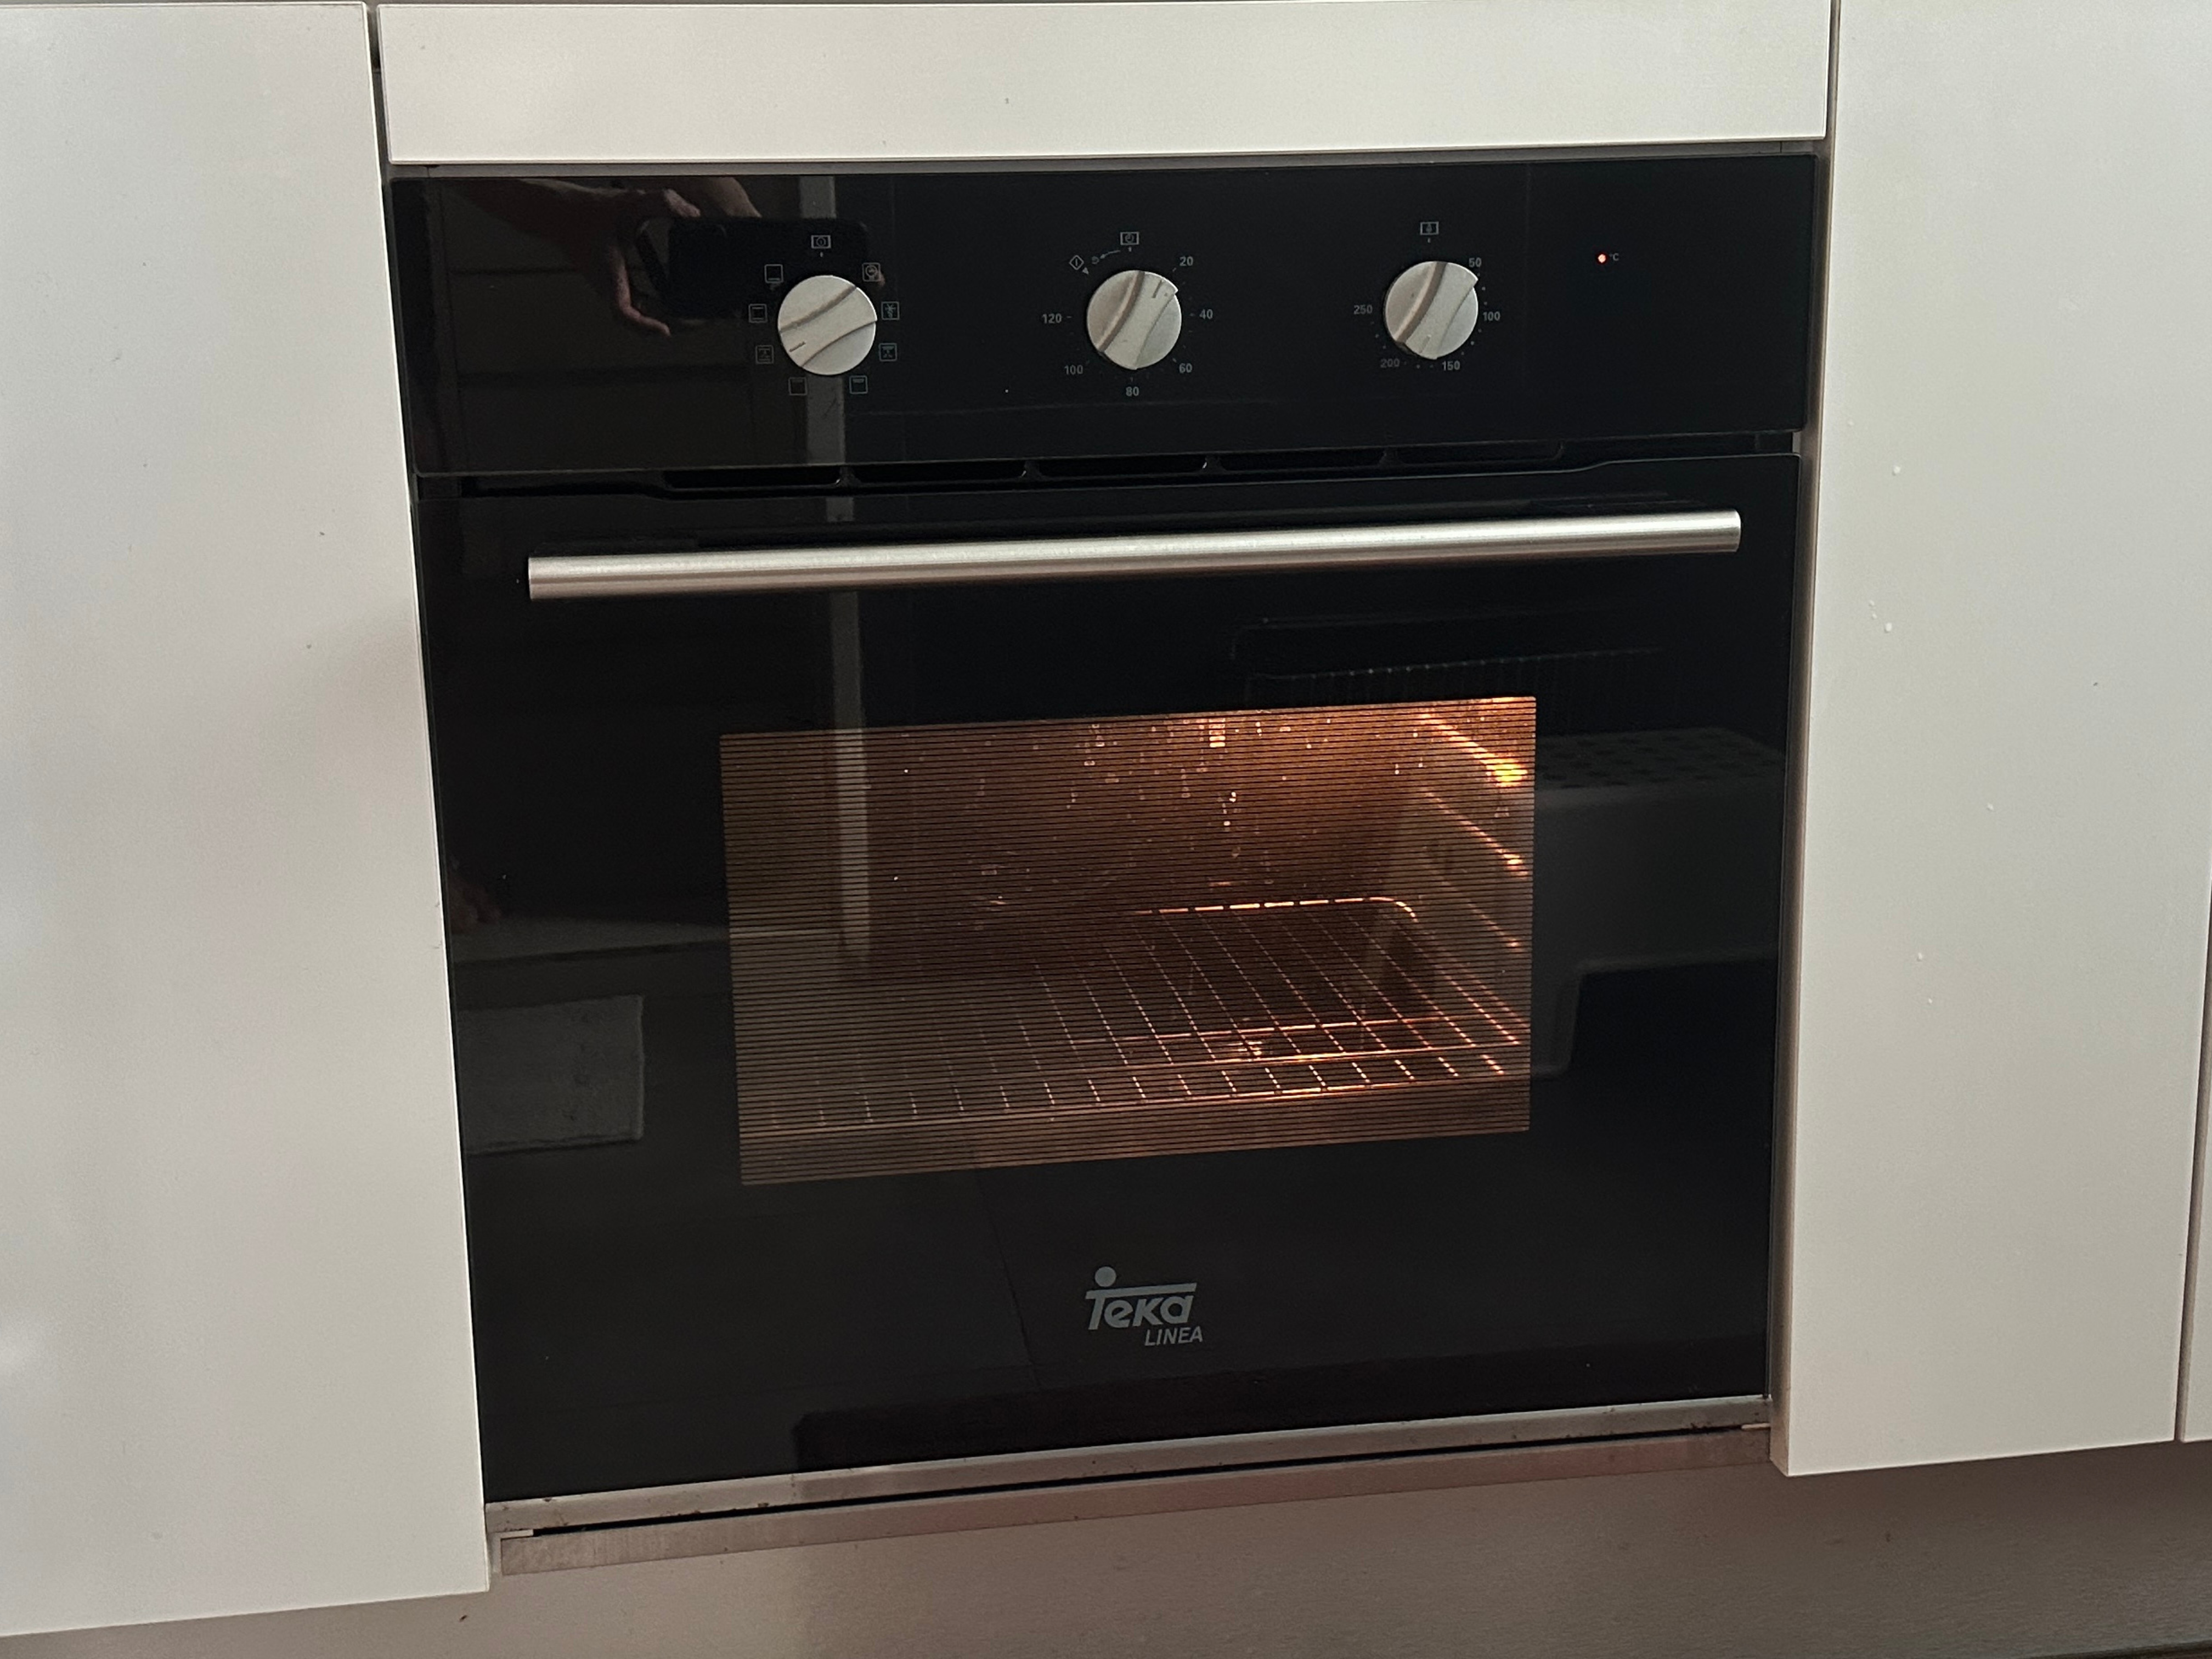
If you want to ferment the dough quickly, you can use the oven for fermentation. Simply set the oven to a temperature range of about 35-40 degrees Celsius. This temperature can accelerate yeast activity and promote dough fermentation. Make sure not to exceed the yeast's tolerance range, as it may negatively affect the quality of the dough.
Step 10:
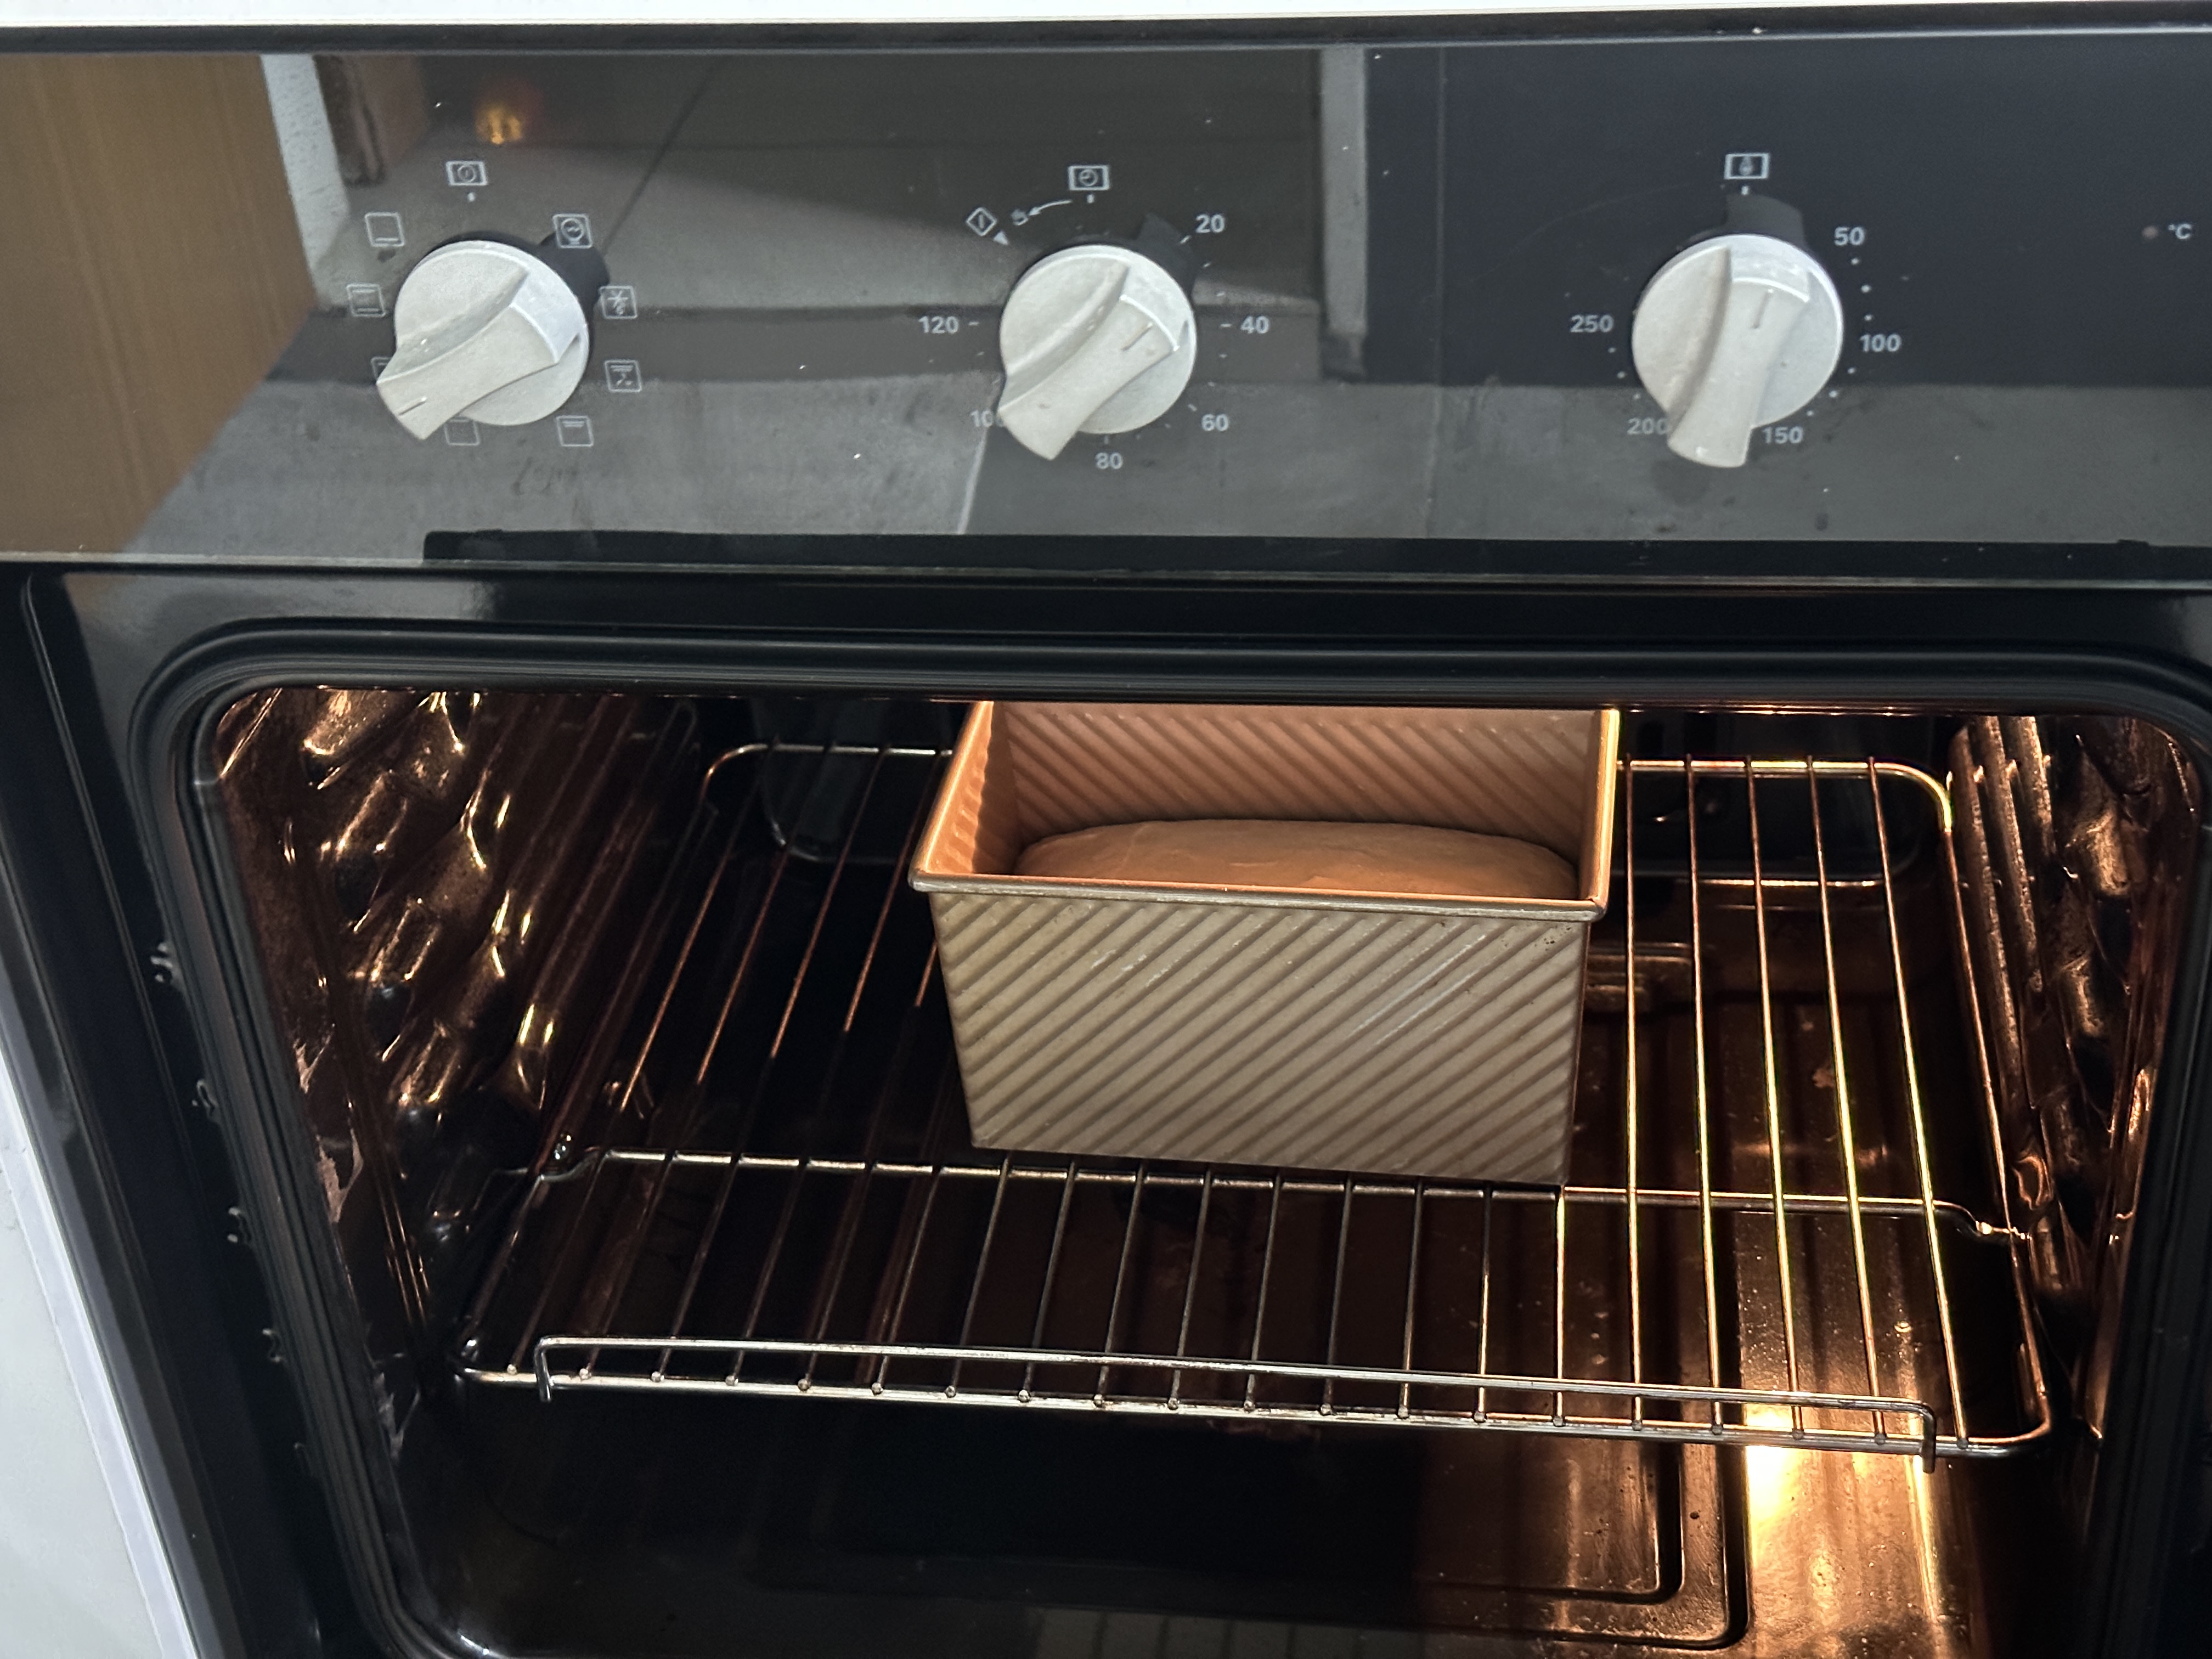
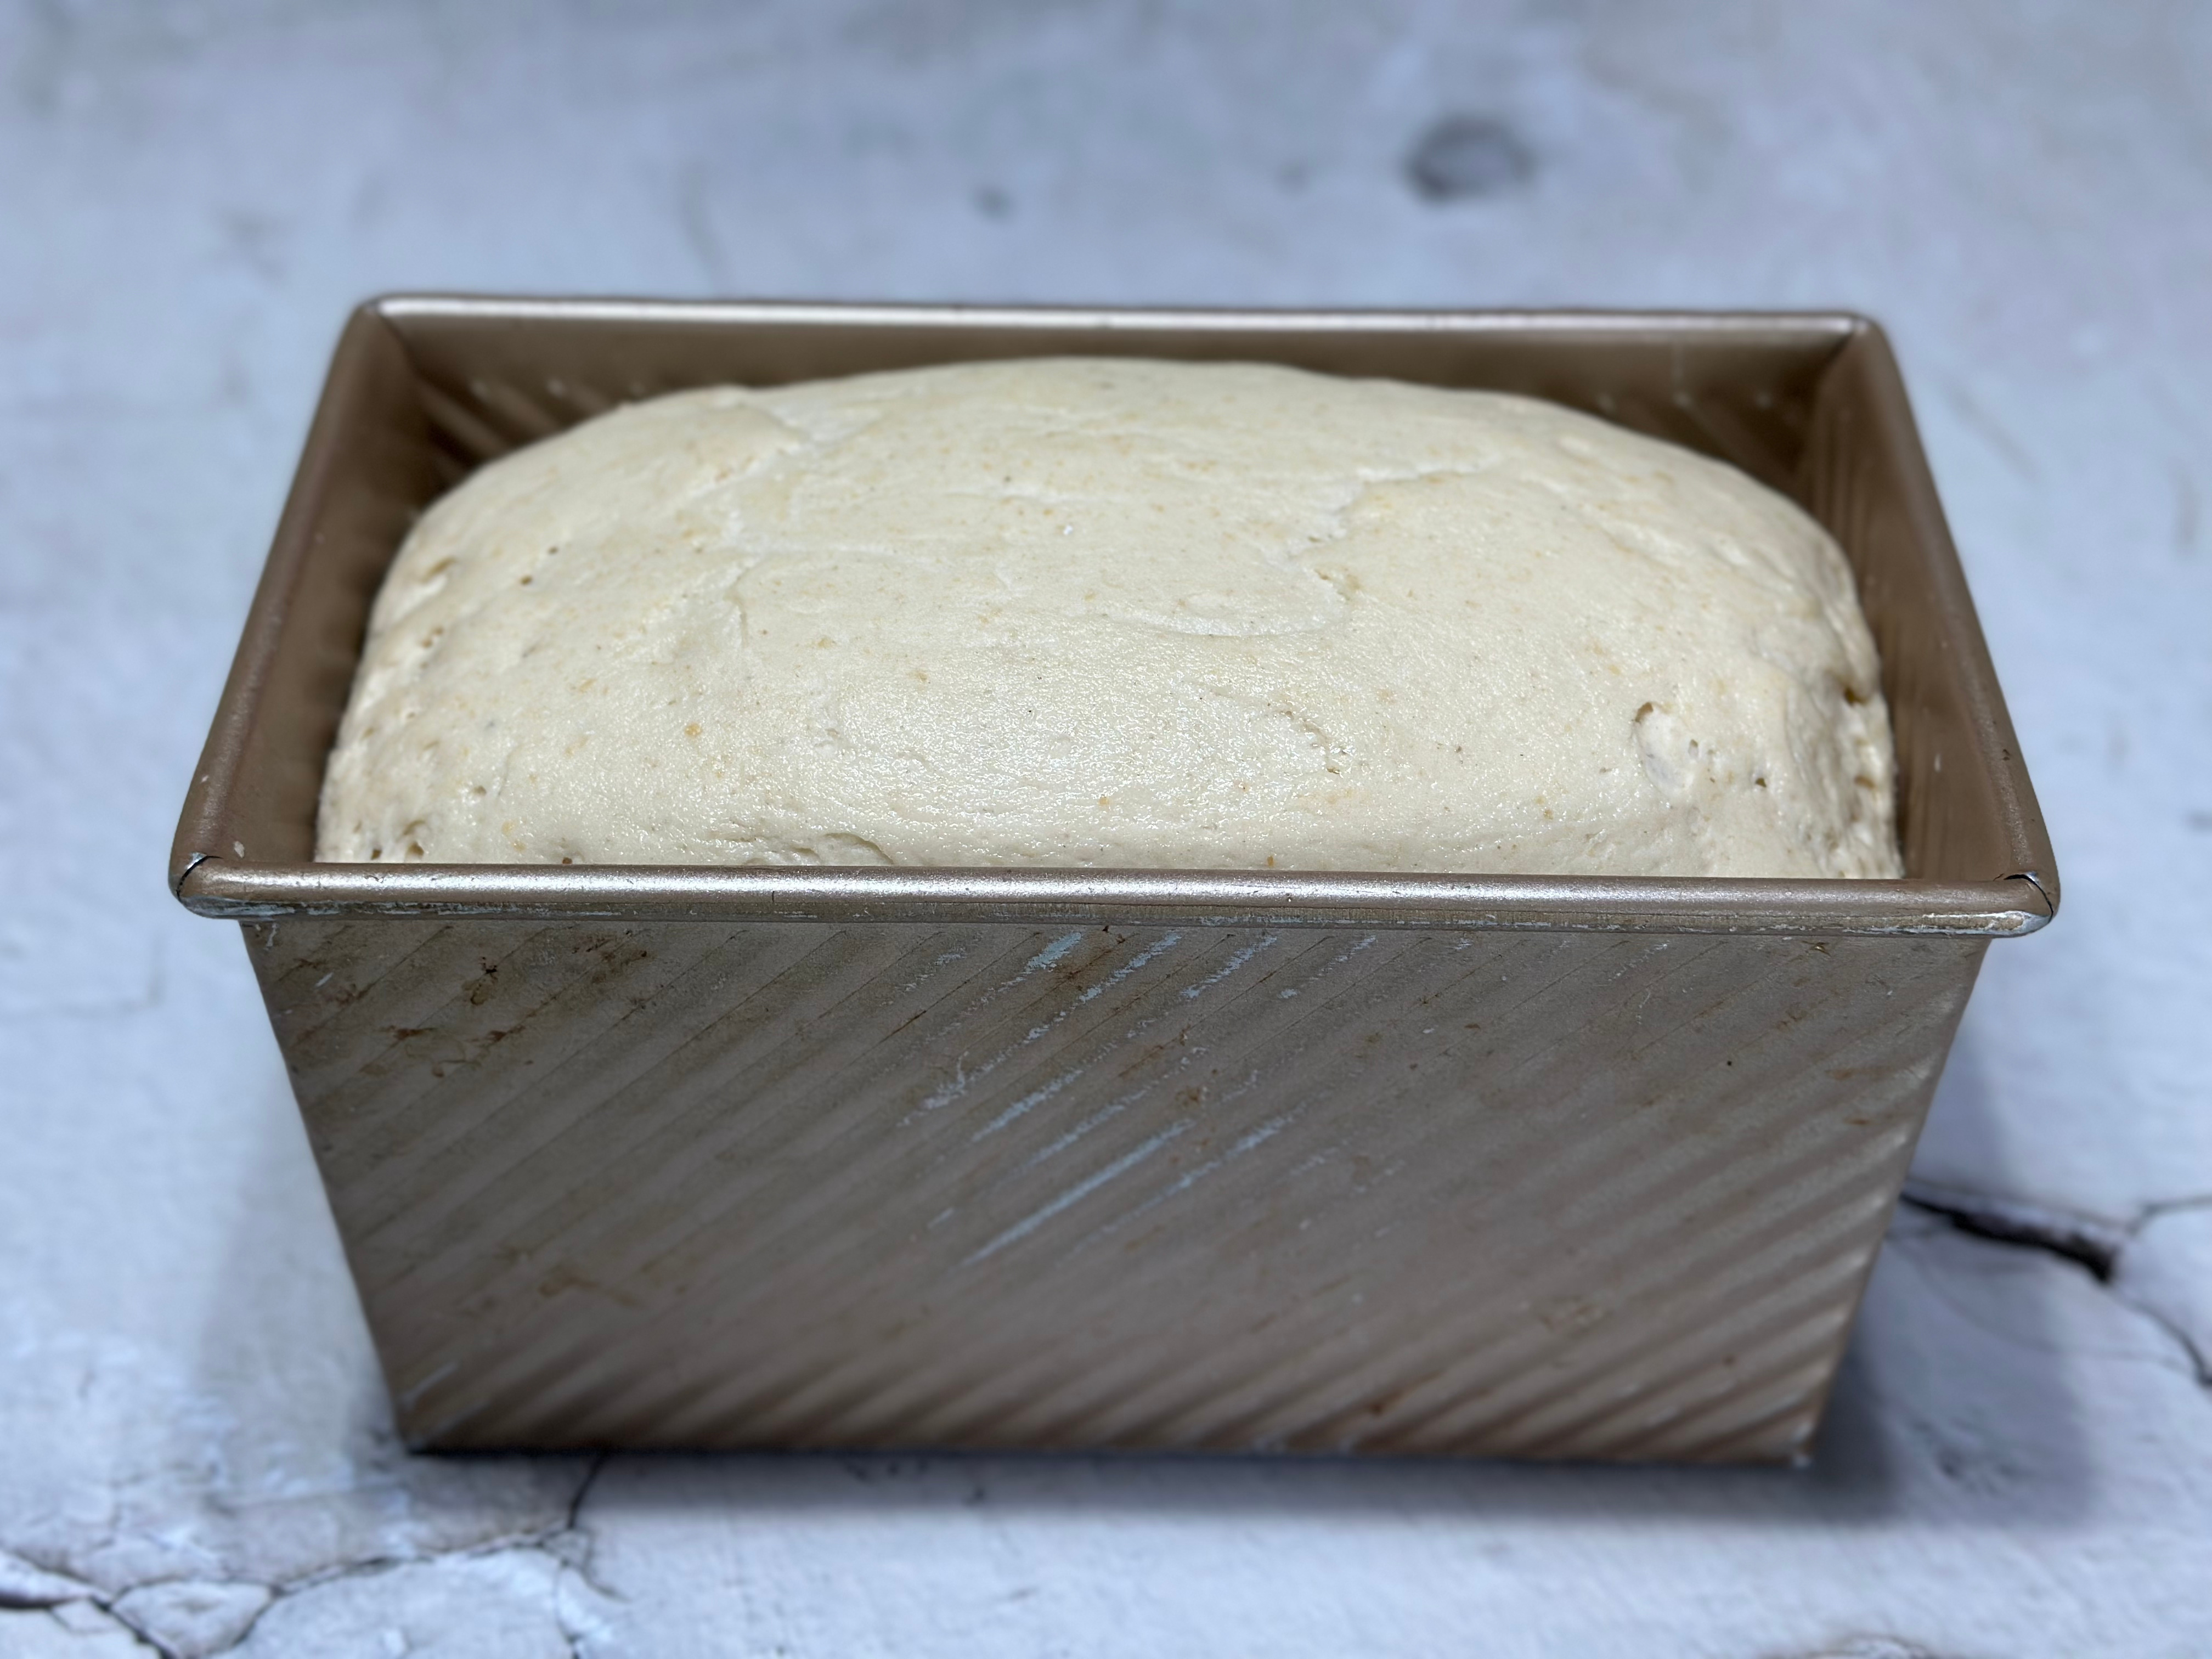
When the dough has fermented to about 80% (as shown in the image below), it's time to preheat the oven. Preheat the oven for 10-20 minutes at a temperature of 180 degrees Celsius with both the upper and lower heat elements on. The exact preheating time and temperature may vary depending on your individual oven.

When the dough has doubled in size (about half an inch above the rim of the baking pan), it is ready for baking.
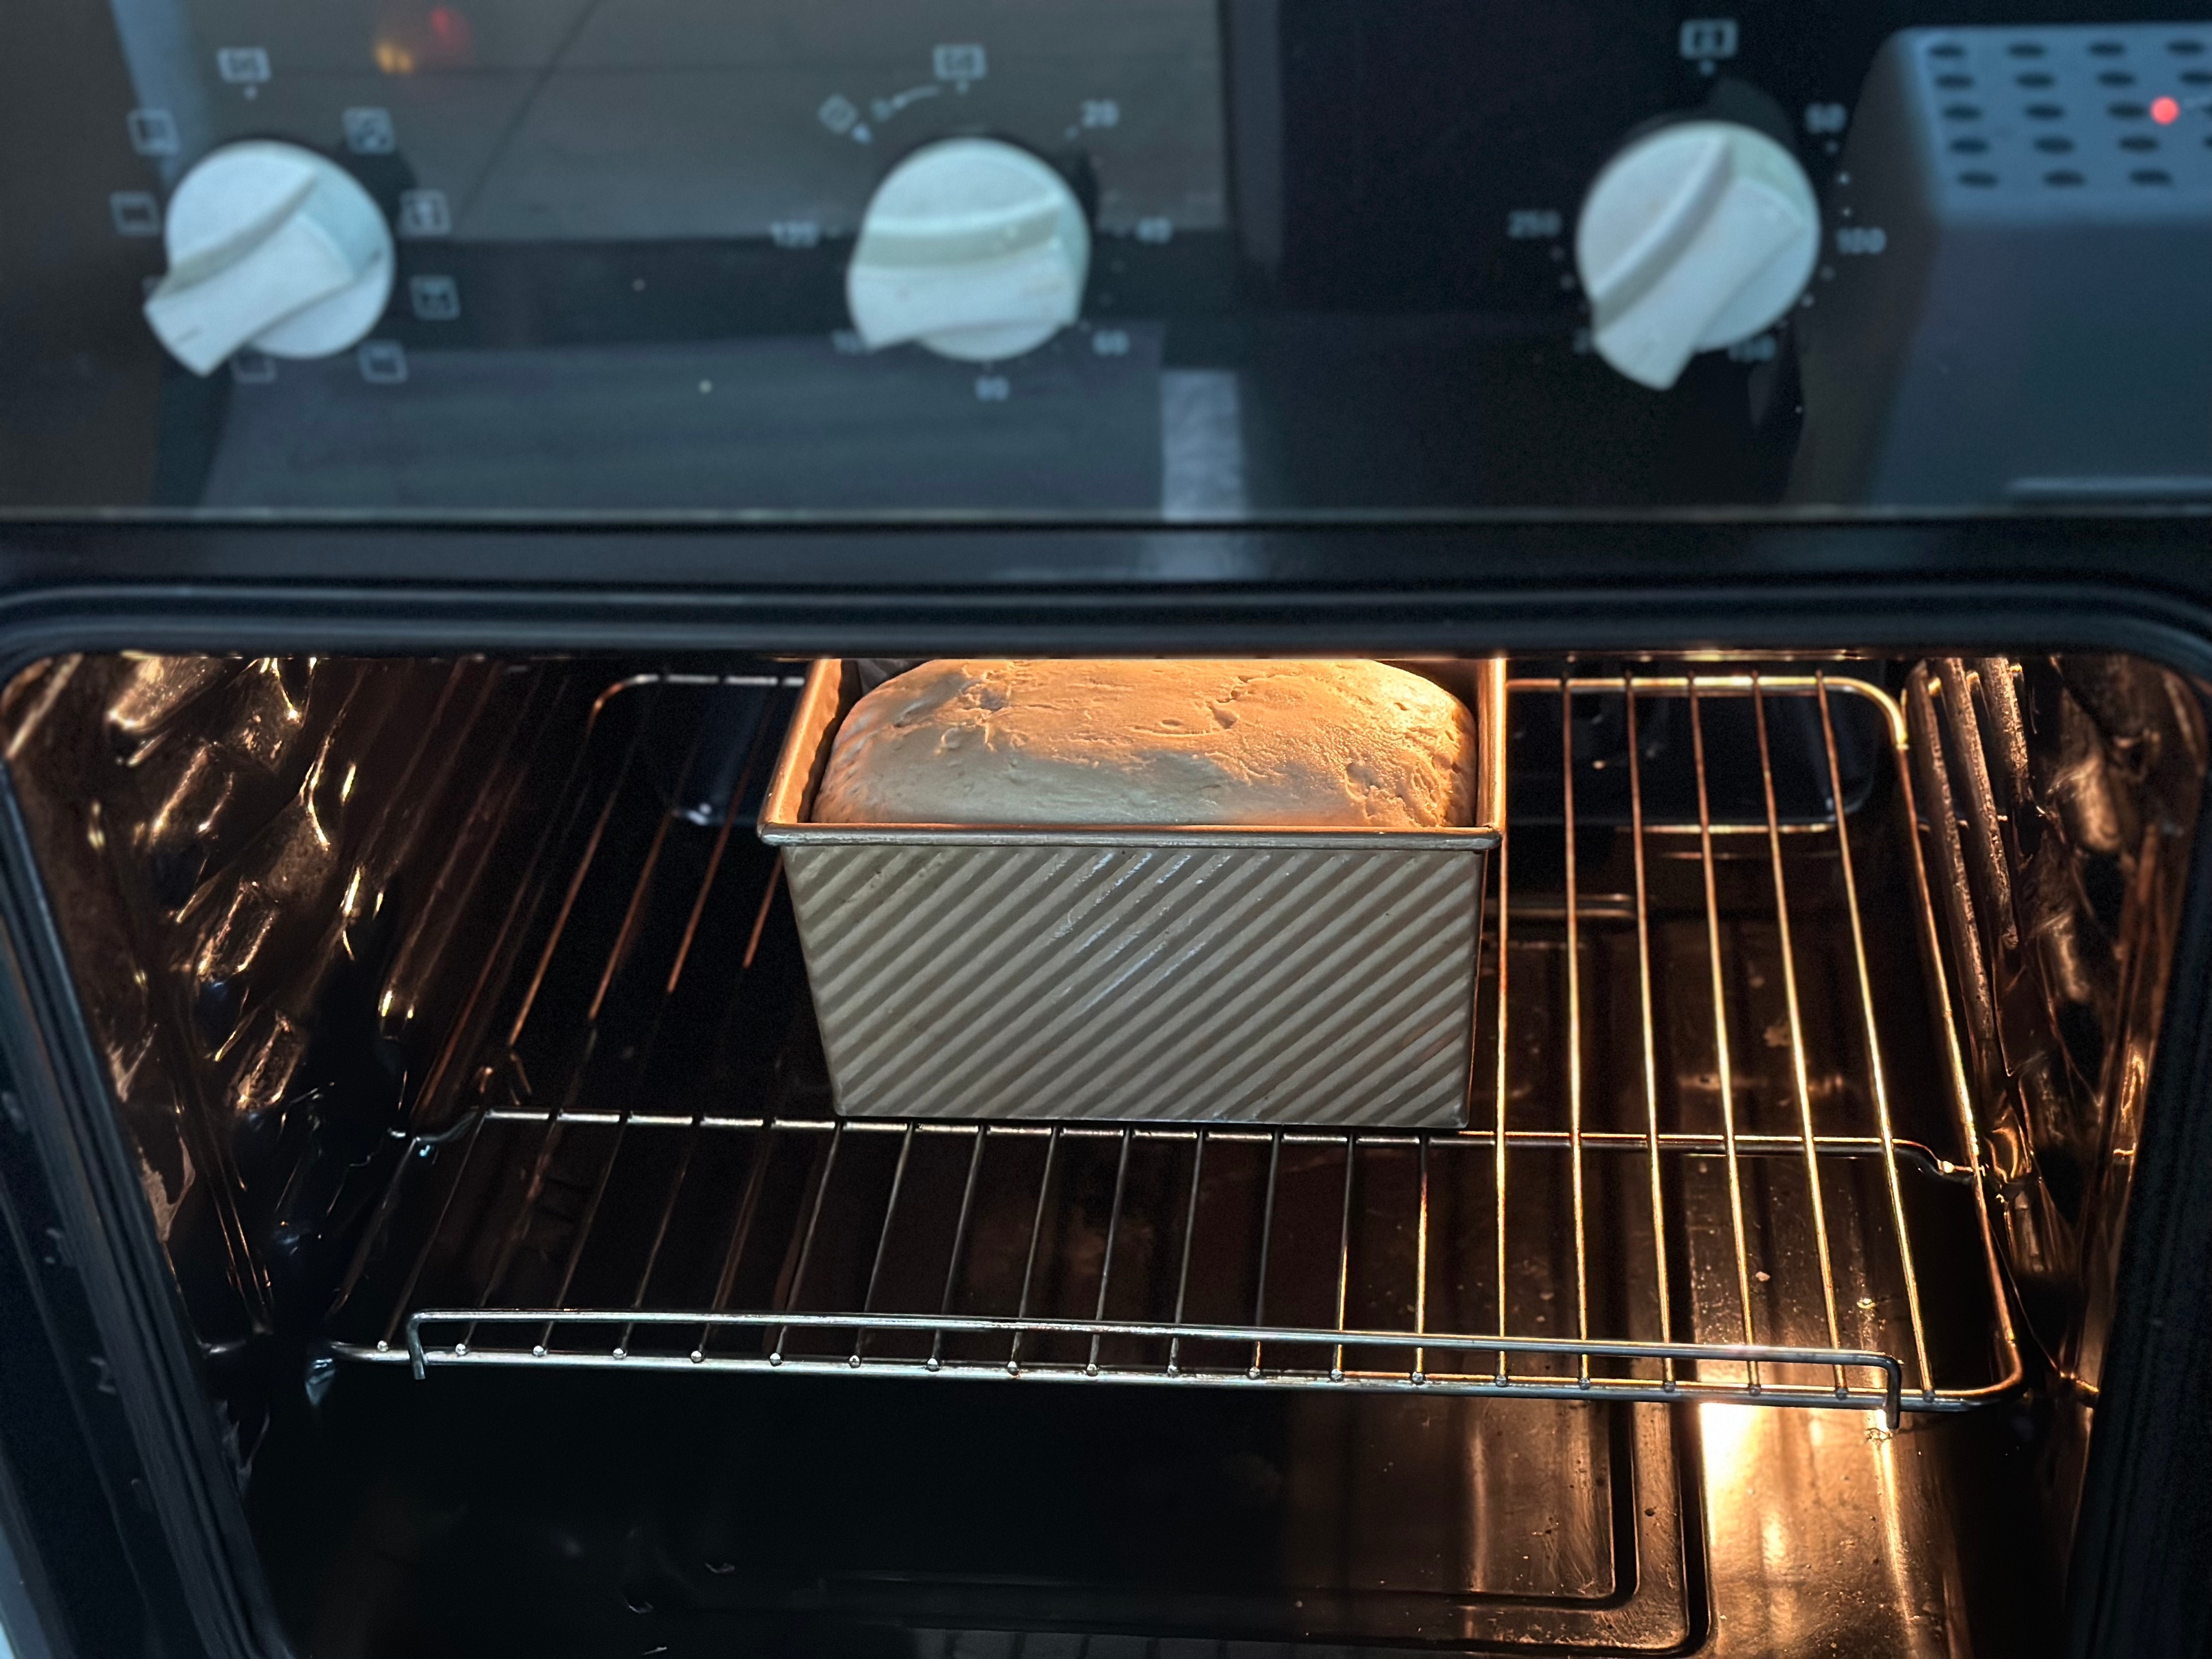
Step 12:
Temperature: 180 degrees Celsius
Setting: Top/bottom he
Time: 40 minutes
*The baking time provided above is just a reference and may vary depending on the brand and model of your oven.
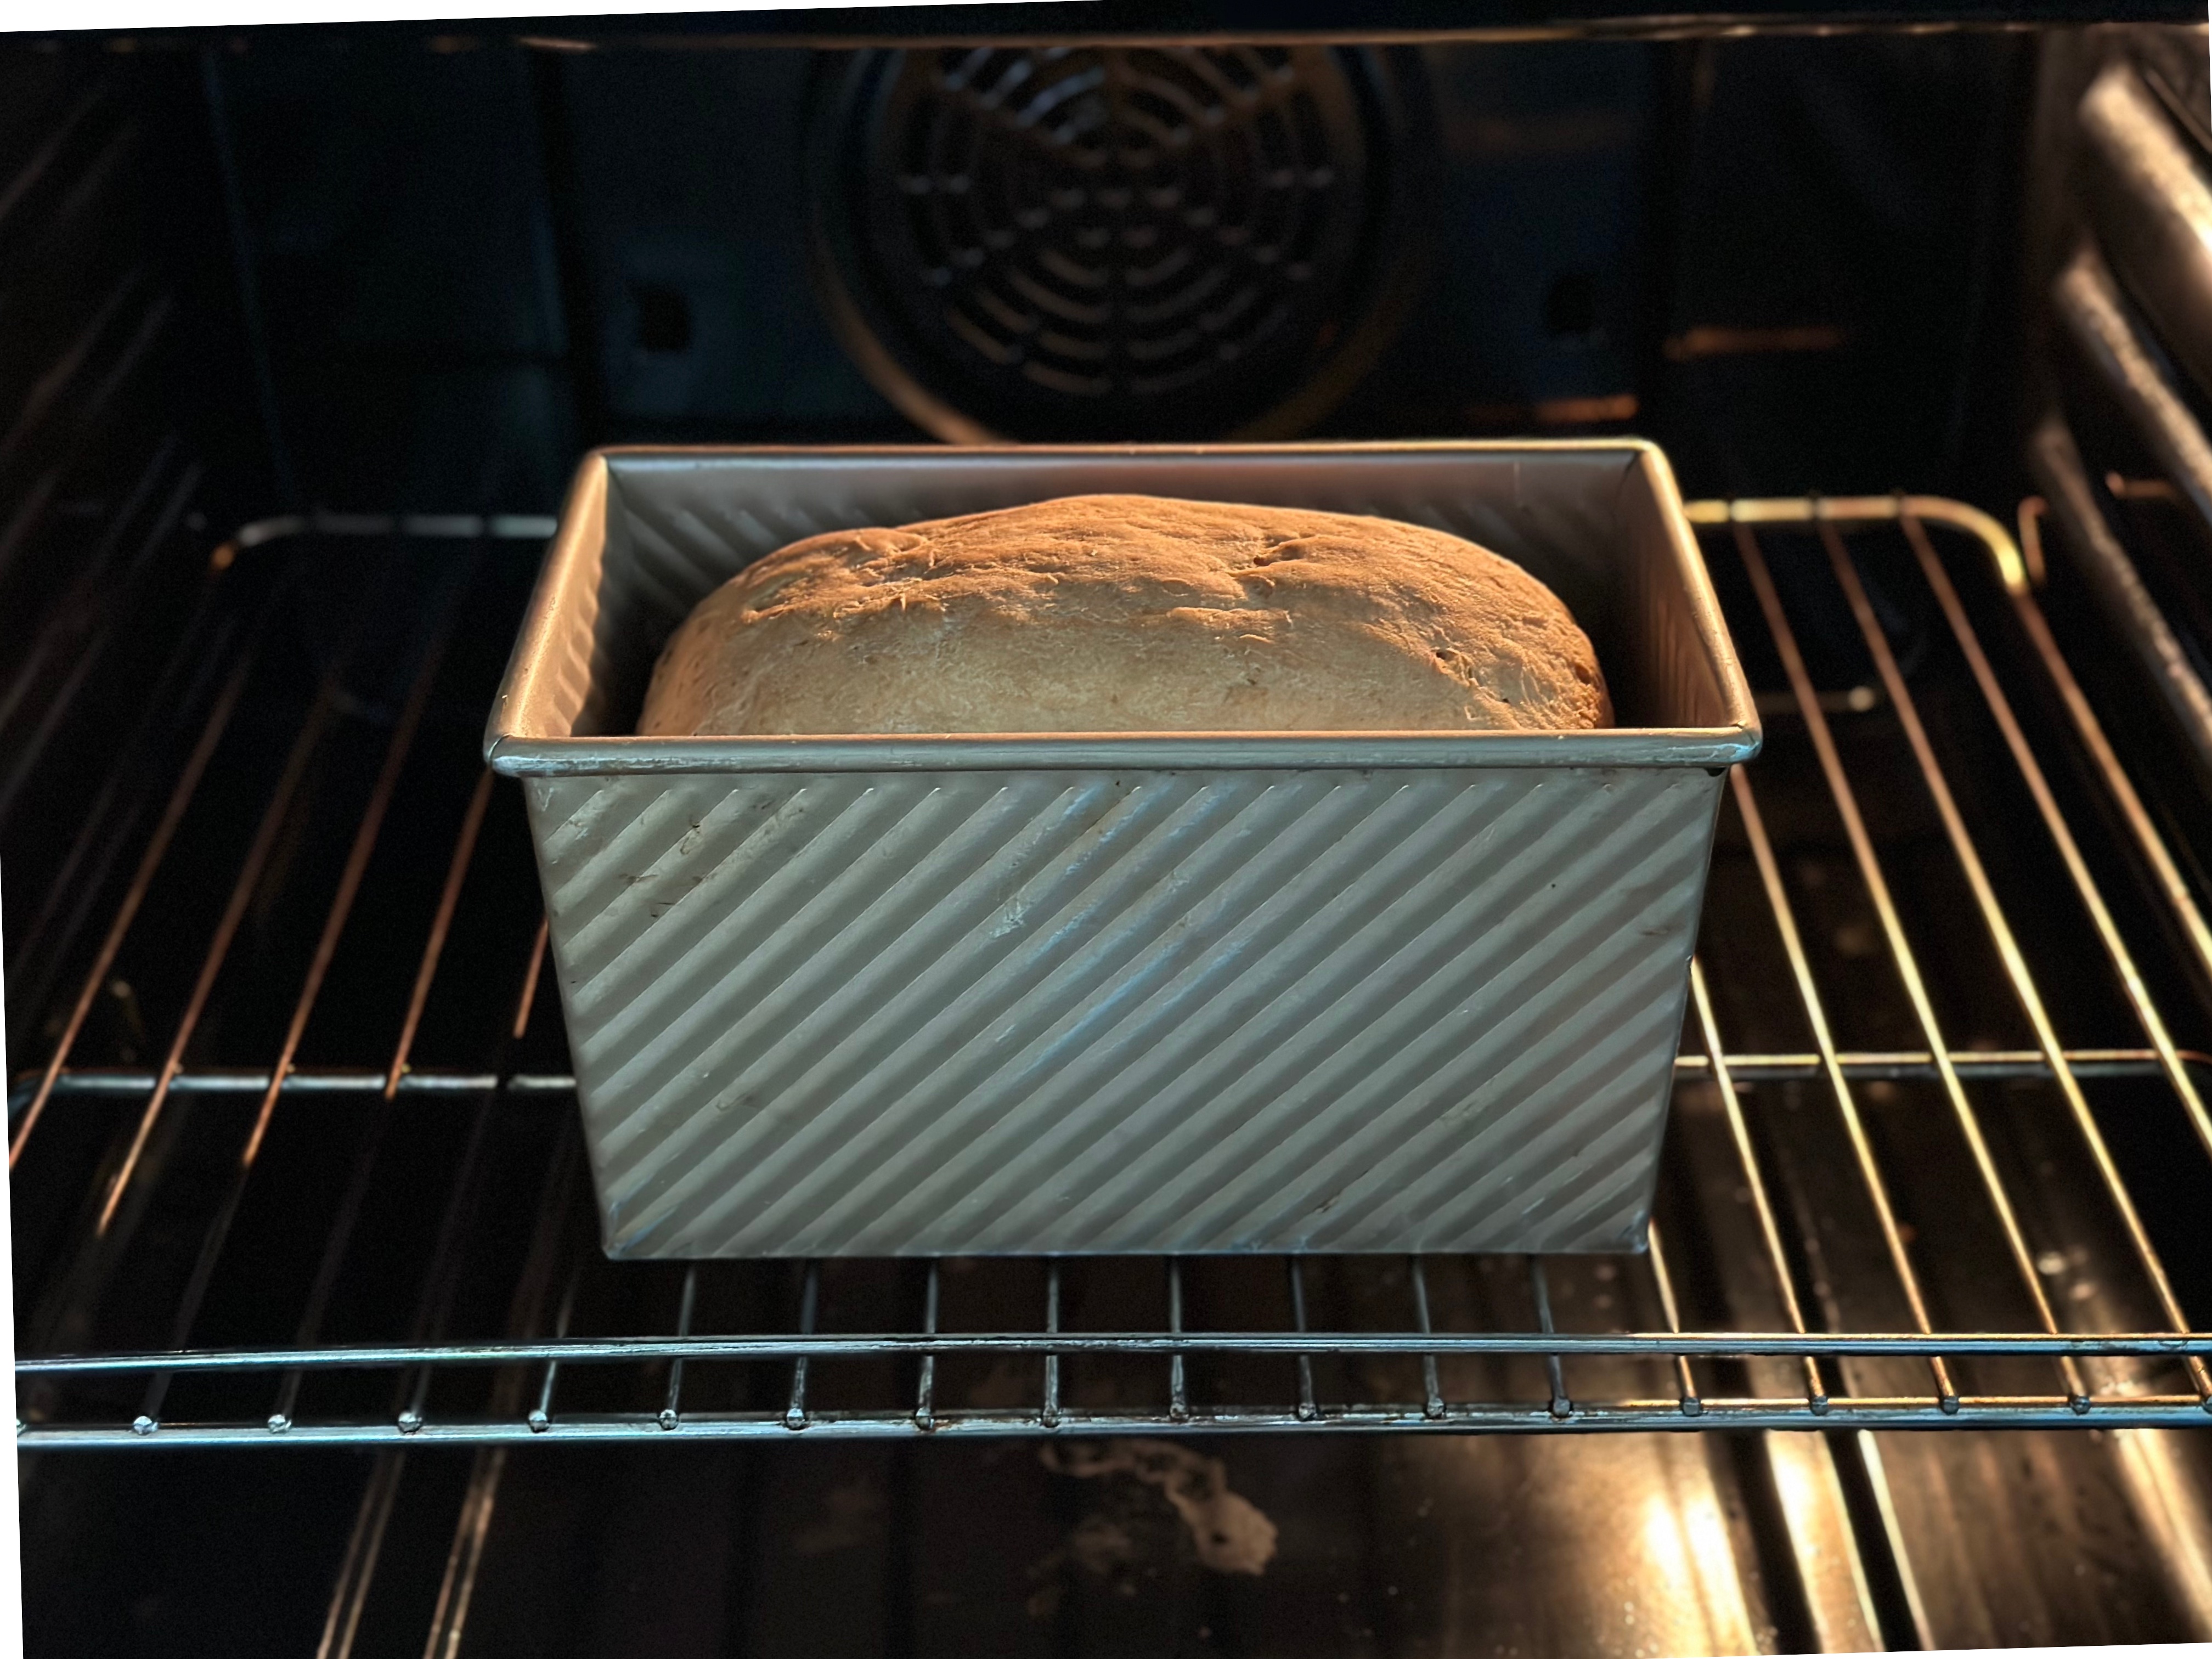

After baking, use a bread tester to check the doneness of the bread. If the tester comes out clean, it indicates that the bread is cooked through. If you don't have a cake tester, you can use a toothpick as a substitute. (If the bread has a golden brown crust, it is generally fully cooked.)


Apply a thin layer of vegetable oil (rice bran oil) on the freshly baked bread to give it a glossy and smooth appearance on the outer surface.


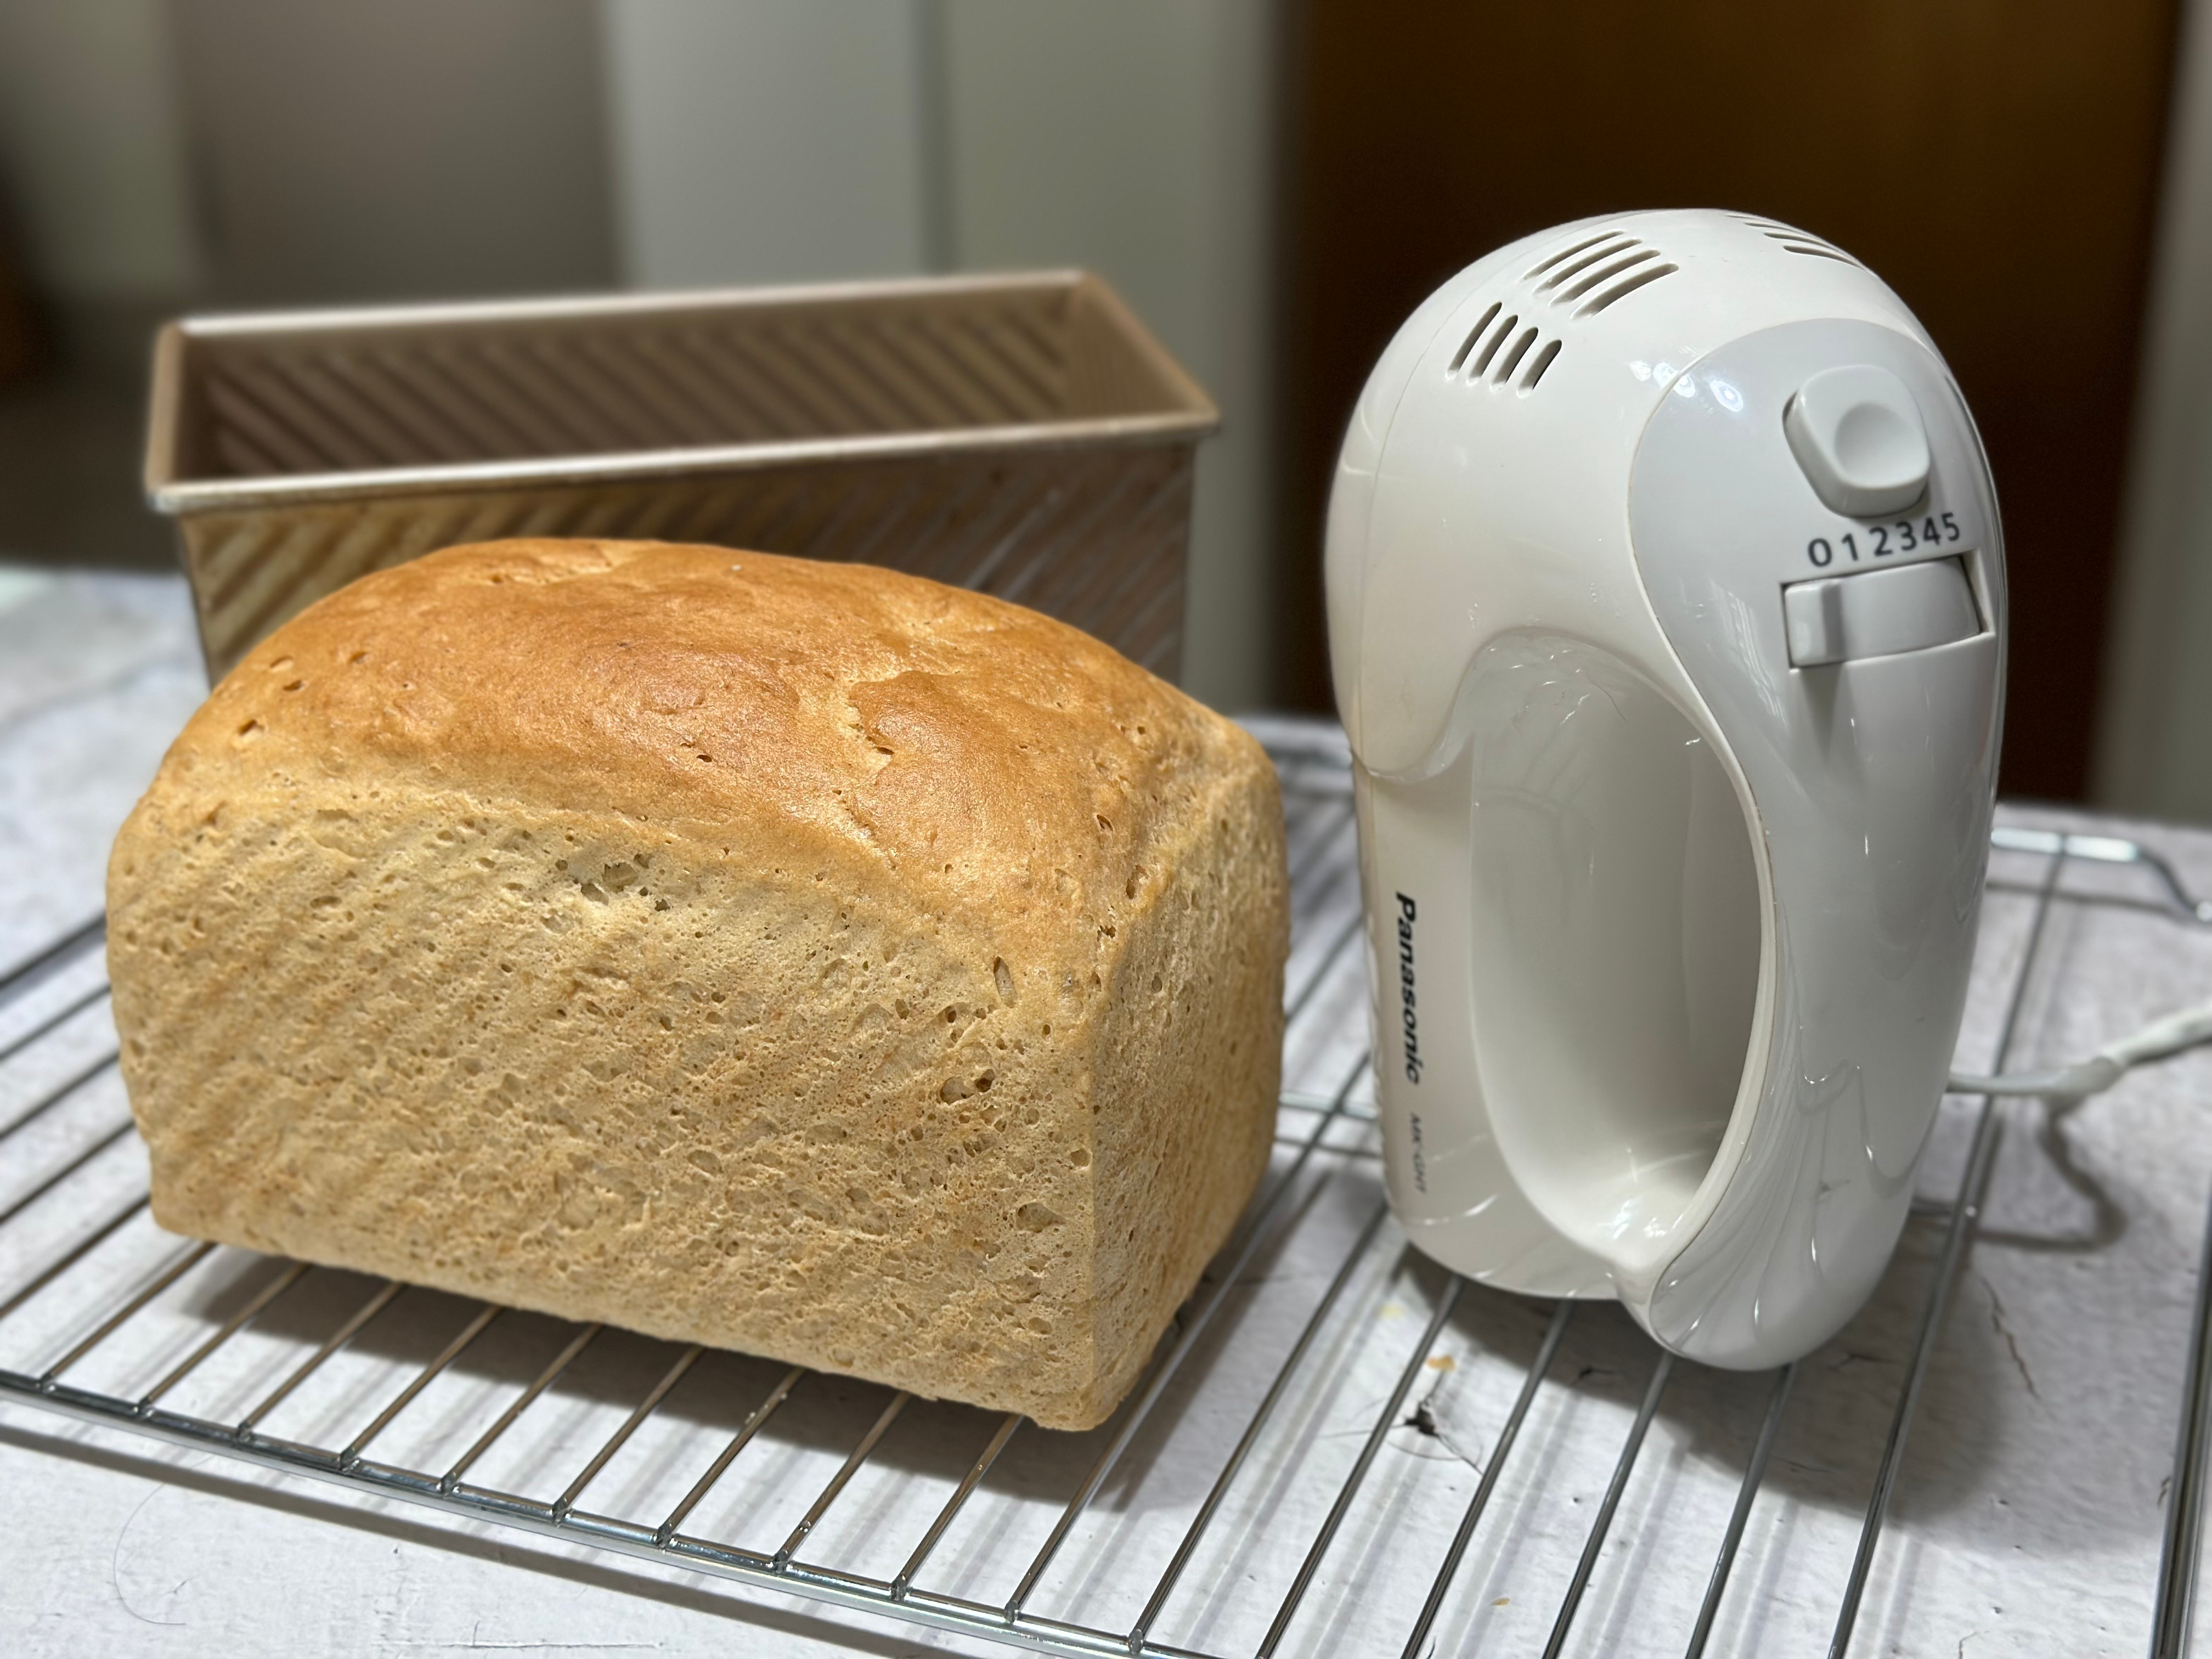

It is not recommended to consume the bread immediately after baking as the yeast flavor has not fully dissipated. Please place the bread on a wire rack for at least 1 hour to allow it to cool down and for the heat to dissipate before slicing and consuming.


These nutritional values for the rice bread are estimated based on the nutritional data provided by Allied Chemists Laboratory Sdn Bhd for the brown rice bread flour. Please note that actual nutritional composition may vary slightly depending on the exact ingredients and weights used during the baking process.

Welcome! Here is some information about the shelf life of rice bread:
Storage duration: At room temperature: 2 days Refrigerated: 5 days Frozen: 3 months
Proper storage will help maintain the freshness and quality of the rice bread. Remember to follow the recommended storage guidelines to ensure the best taste and texture.
Thawing Instructions for frozen Rice Bread
https://bit.ly/44A3T3e


